Forwarding Emails from Outlook to Teams
- Rachel Geiger

- Jun 12, 2020
- 2 min read
Updated: Sep 14, 2020
Do you have Microsoft 365 and want to share specific emails with your team automatically and without cluttering their inboxes? There's a simple way to do that by forwarding or redirecting emails from Microsoft Outlook to Microsoft Teams. Doing this will give your team a way to easily navigate to those important emails and discuss them without the incessant email chains.
*Note* Email integration must be turned on in the Microsoft Teams Admin Center for this to work.
Want to try it out? Follow the simple steps below that I prepared for you.
1. Open Microsoft Teams

2. Select or create the channel you would like to forward or redirect the emails to
3. Click the … to the right of the channel title

4. Choose Get email address from the pop-up menu

5. Click Copy

6. Open Microsoft Outlook

7. Select one of the emails you would like to forward or redirect to Teams (for this example I will select an email from Microsoft Power Apps)

8. From the Home tab, in the Move menu, click Rules

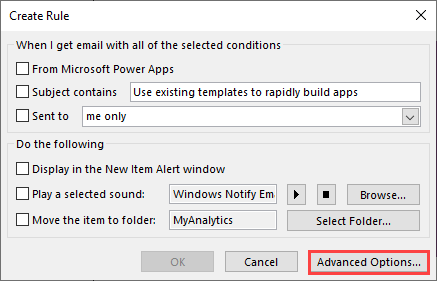
9. Click Create Rule…

10. Select Advanced Options…
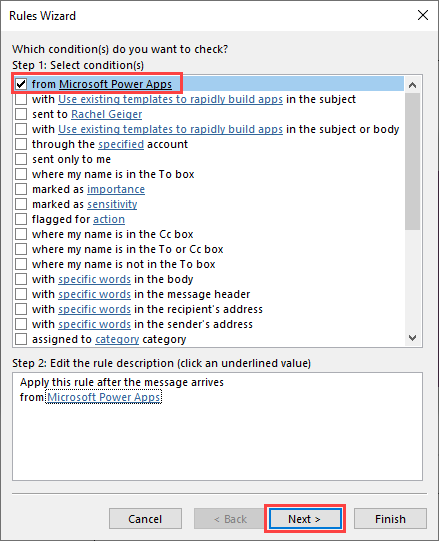
11. Check the box “from Microsoft Power Apps” to set your condition (this will be different for you depending on how you customize your rule)
12. Click Next >
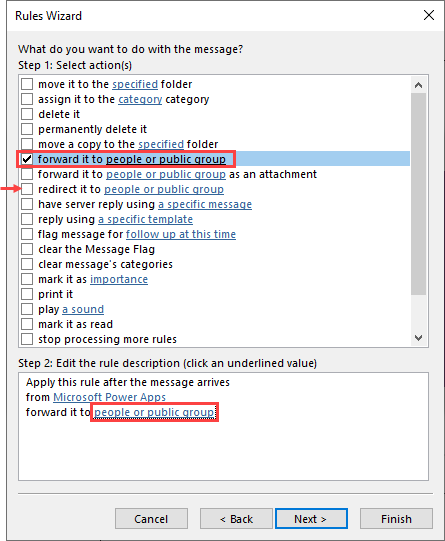
13. Check the box “forward it to people or public group” (note: there is also an option here to redirect it)
14. Click people or public group in Step 2: Edit the rule description (click an underlined value)
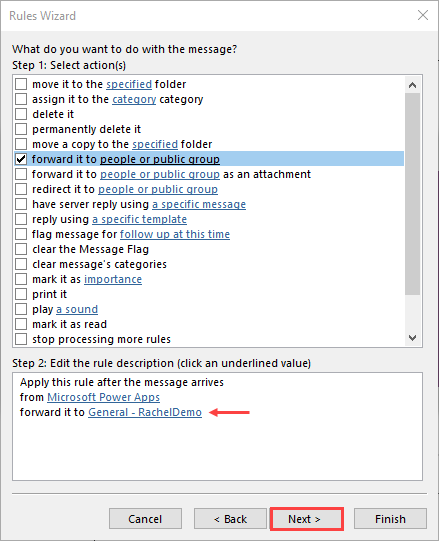
15. Paste the email address you copied from your Teams channel into the To field
16. Click OK

17. Click Next >
18. Click Next > (in this next step you can list any exceptions you want to apply; in this example I am not applying any exceptions)

19. Name your rule in Step 1: Specify a name for this rule
20. Check the box Run this rule now on messages already in “Inbox” in Step 2: Setup rule options (only do this if you want to apply this rule to prior messages already in your inbox)
21. Click Finish

You will see a popup showing that the rule is running

Check Your Work
1. Return to Microsoft Teams

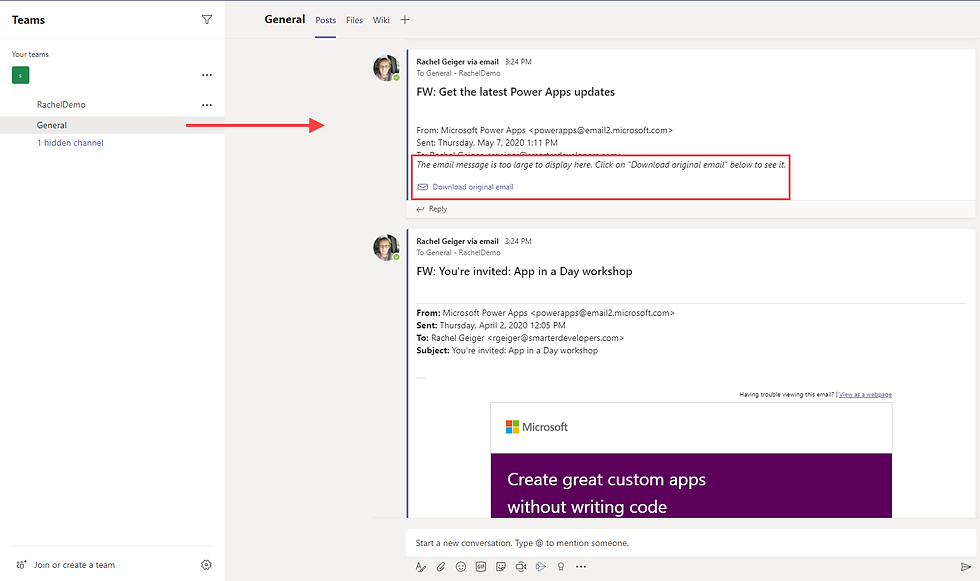
2. You will now see the emails that you scheduled the rule for in your specified Teams channel (note: most files will be too large to display in the Posts, but users can click the link in the post to Download the original email)
3. Additionally, if you click Files at the top of your channel you will see that the SharePoint App created a folder in General called Email Messages
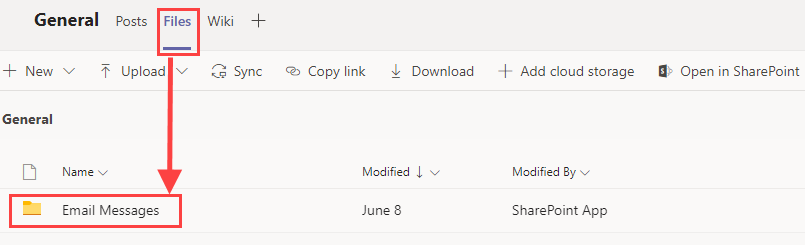
4. You can click the Email Messages folder to view and open all of the email files in Teams or you can click Open in SharePoint to view and open these files in SharePoint – so many options!

There you have it! This is such a simple trick that can provide lots of value. Thanks for reading. Click here to see a video walk-through of this tip!

Comments